Sunday, April 22, 2012

Freezer McMuffins!

Since I made my freezer breakfast burritos a few days ago, freezer cooking is my new favorite thing.

That way when I make lunch for myself but not for Kurt I don't have to feel guilty, because he could just eat a burrito from the freezer. :-P


Ingredients for these sandwiches:
-Eggs
-English muffins or other bread of your choice.
-Sliced cheese of your choice.
-Breakfast meat of your choice.
-Butter or cream cheese.


Step 1: Cook your eggs. 
I did mine in a muffin tin as seen on this recipe
 I actually used an oversized one to get a little wider of egg discs.
They went for about ten minutes at 400 degrees.
Use plenty of cooking spray or butter and they come out really easily afterwards.


Step 2: Prep the bread.
I just toasted mine in the oven for a couple minutes.
I used these sandwich thin deals that are 100 calories for both pieces. Normal bread is about 100 calories per slice so these are nice since I'm trying not to eat so many of my calories from carbs.
Now I could have buttered these, but I decided to go a slightly different route... 
I know I called these homemade McMuffins, but I actually like McGriddles better because of the maple syrup flavor.
 So I mixed some maple syrup with half a package of cream cheese that I needed to use up.
I spread a thin layer of the cream cheese mixture on all my bread.
It's actually important to spread something on, all the way to the edges, if you're going to freeze pre-assembled sandwiches - helps keep the bread from getting soggy and weird.


Step 3: Bacon!
(Ham or sausage patties would also be excellent.)
Have fun fitting an entire package of bacon on a small broiler pan.
This went for about fifteen minutes at 400 degrees.


Step 4: assembly.
Put a slice of cheese on each bottom half of the bread.
Add your eggs. Even though I used a big muffin tin, these are still pretty little... I ended up squishing them with a fork a little to distribute the egg more evenly... next time I may just cook an egg or two per sandwich in six-inch egg skillets, which would get me perfect better sized circles.
I used a couple of pieces of bacon per sandwich.
Six breakfasts!
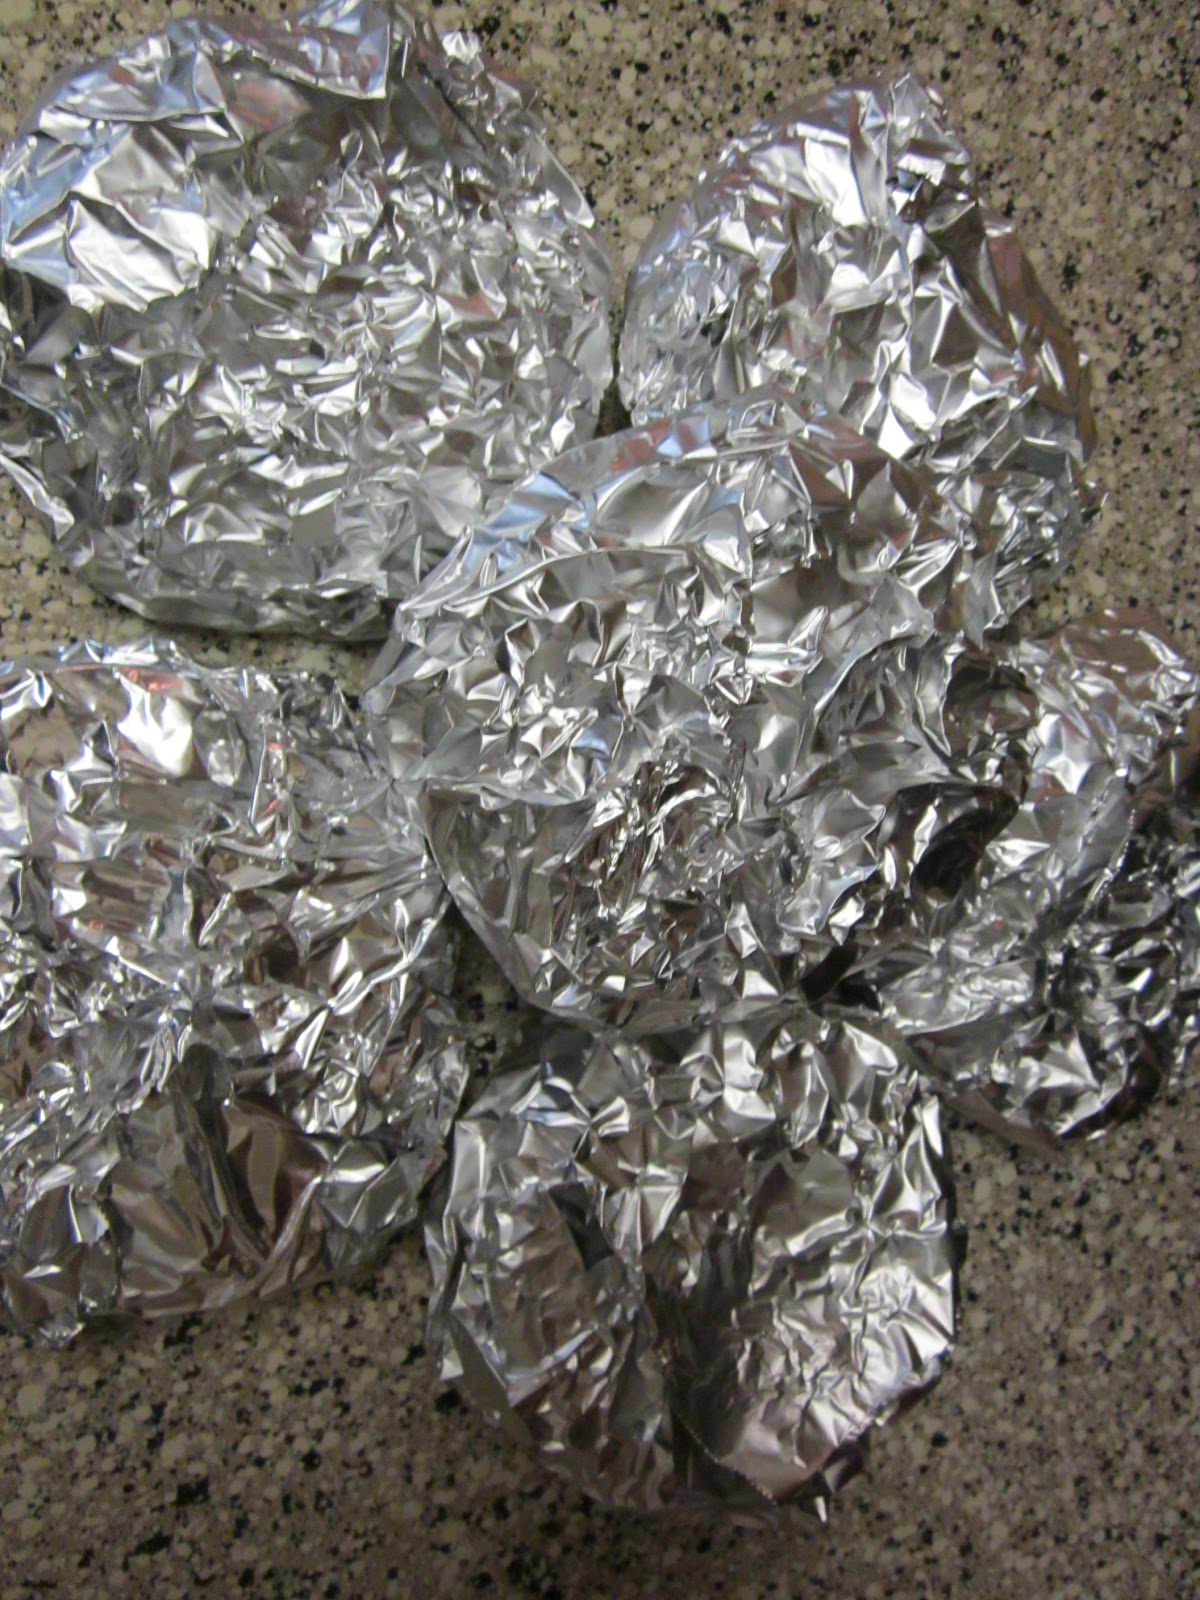
I wrapped mine in just aluminum foil even though paper towels and foil would have been better.
Because I'm a dork who can't be trusted to keep track of her own household's paper towel inventory.
I love having a stocked freezer.

These are under 400 calories each so they will work with my diet!

Wednesday, April 18, 2012

An excellent cake for birthdays!

 I made this for my sister-in-law's birthday when she came to visit us a couple weeks ago.
(My family has it for birthdays often, so I figured Laura should get to try it too.)

It is chocolate cake with coffee in it, 
and peanut butter cream cheese frosting, 
so obviously it is one of the better cakes around.

It makes a 9x13 cake so we were still working on eating it nearly a week later... 
it was still nice and moist up until about the 5-day point. (Having to worry about how long a cake will stay good is a novel experience for me, really.)


Cake:
2 cups flour
2 cups sugar
⅔ cup baking cocoa
2 tsp. baking soda
1 tsp. baking powder
½ tsp. salt
2 eggs
1 cup milk
⅔ cup vegetable oil
1 tsp. vanilla extract
1 cup brewed coffee, room temperature

In large bowl, combine dry ingredients. 
Add eggs, milk, oil and vanilla; beat for two minutes. 
Stir in coffee (batter will be thin). 
Pour into a greased 9x13 pan. 
Bake at 350 for 35-40 minutes or until a wooden pick inserted near the center comes out clean.  
Cake might have a slightly sunken spot in the center. 
Cool completely on a wire rack.

Frosting:
3 oz. cream cheese, softened
¼ cup creamy peanut butter
2 cups confectioner’s sugar
2 Tbsp. milk
½ tsp. vanilla extract

Beat the cream cheese and peanut butter until smooth. 
Beat in sugar, milk and vanilla. 
Spread over cake


What a nice, professional recipe, you might say.

Actual measurements? We don't see those often round these parts....

That is because my mother kindly emailed me the recipe when I was in dire need of it.

Thanks mom!

Monday, April 16, 2012

French fries for breakfast.

I picked up a couple of adorable yellow egg cups from Kohl's for a dollar after Easter last year, but I still hadn't used them. I mean, who even uses egg cups? We unfortunately are not British over here.

So anyway, I learned to make soft-boiled eggs. They need to go 5 minutes ish... not long enough and they're impossible to peel and grossly gooey... too long and there is no soft yolk inside.


The soft yolk is important for this cute breakfast idea - you make cinnamon toast french fries and dip them in the yolk. I don't normally like my eggs with a very runny yolk but this was fun and yummy.

For the cinnamon toast, you can read Pioneer Woman's unreasonably exhaustive treatise on how to make it correctly, or you can just take my word for it that her point is: put it under the broiler, don't just dump some sugar on your toast. (And watch it! It really needs to be there for less than a minute.)

Sunday, April 15, 2012

Curried deviled eggs.


At one of our favorite restaurants, Kurt always orders the Bavarian Omelette, which is filled with delicious curried beef and is somehow sweet, not spicy.

And that is how I came up with adding curry to eggs. It's delicious!

Plus if I tried to make normal deviled eggs they would inevitably be inferior to Kurt's great-grandmother's deviled eggs, and then we would both be sad because she lives a thousand miles away. But if I make deviled egg variations, we can just enjoy them for what they are.

Ingredients:
Hard-boiled eggs.
Greek yogurt.
Curry powder.
Paprika.
Honey.

Pretty sure you can figure this out but I will put directions because I'm so professional... put the egg yolks in a sandwich baggie with a good amount of greek yogurt (about the same volume of yogurt as of egg yolk), a bunch of curry powder (the basic stuff from the grocery store is really not hot at all), a little paprika, and a little honey. Have fun squishing the baggie until it's all one color, then cut a hole in the corner and pipe it out into the egg white halves. Top with a sprinkle of curry powder and/or paprika.

I originally used yogurt because we didn't have sour cream (don't even talk about mayonnaise to me because it's a weird color and tastes gross... I usually just use sour cream) but I think it actually adds a nice tangy taste. Plus, it makes these completely good for you unless you are one of those people who only eat egg whites because the yolks are too fatty.

Monday, April 9, 2012

Weeknight curry.

This is a very quick and easy dinner!

There are lots of different delicious ways you could make it. 

Basically, you stir-fry whatever vegetables you like, along with some meat if you want.

Then dump a can of coconut milk on top.

Then add curry powder or paste.

Let it simmer for a few minutes, and that's it.

 (You will once again have to ignore my lack of food staging skills.)

I used zucchini, yellow summer squash, and chicken breast, with peanuts on top. I imagine it would be delicious with thin strips of beef and bell peppers too. Maybe some mushrooms. You could go for something more authentic like bamboo shoots. Or bean sprouts on top. But the beauty of this for me is that it only uses stuff you can easily get at Kroger. I know just grabbing some curry powder isn't the most authentic but it's one ingredient instead of like twenty. So it works for me. I like to leave real Thai cooking up to restaurants because it's one of the few things where if you buy all the ingredients it really is just as expensive as going out.

Saturday, April 7, 2012

In which I organize without cute labels.


This is the way my kitchen looks for a day or two when I decide my pantry needs organized.

But it looks better now.

I was going to buy all matching containers for a dramatic after but that would be silly because this is not even a real blog where people would pinterest my pantry if it looked cute. So why bother?

For similar reasons I did not use my cricut to make adorable labels for stuff that I know what it is by looking at it...

Also I have no cricut.

Shelf 1: Overly large stock of baggies from our costo membership, saran wrap and tinfoil, three kinds of vinegar and two kinds of oil.

I keep meaning to drink apple cider vinegar every day (it's actually delicious!) but I always forget.

Shelf 2: Cartons of broth, cooking wine, oatmeal, grits and dried fruit. So healthy except maybe the grits.

Oh and the fact that these are hiding in the back.

Yes, that is a container of lemonade powder the size of a canister of oatmeal.

Yes, I feel ashamed.

Shelf 3: Canned goods in a cute red basket I think I stole from mom. Plus a bowl of random hard to organize stuff I should not even own such as instant pudding and sodium-filled taco seasoning. Yum yum.

Shelf 4: Another bowl of small stuff I should not even own! Ramen and mac and cheese from my eat-like-a-college-student phase. Also bags of pasta behind that. And boxes of pasta beside that. And jiffy mix. And sodium-filled bouillon. Basically everything but the kitchen scale and maybe the rice is something I shouldn't own.

This reminds me that I may need to address my pasta addiction at some point.

Ground floor: Turkey and chicken roasting pans, thermoses and Kurt's lunchbox (which I found at a garage sale for 25 cents including the thermos that fits inside the lid!), brown paper bags, empty mason jars, potatoes, popcorn, and various unopened extras. Also a tupperware popcorn popper, which I love.

I also put all my little chip clips and clothespins on the edge of a shelf and was very impressed with my restraint in not putting them in a mason jar.

I decided my baking cupboard also needed organized.
 It was fairly impossible to get anything out or find the spices you needed.

 I found an Easter bunny in there, which must be from a year ago now.

 I decided to use my spice carousel to hold cupcake liners and kitchenaid attachments... 
just getting the spices out of there made the whole cupboard work a lot better for baking ingredients.

I  have a spice drawer now instead. 
I know you can buy little drawer inserts for spices but I don't really think it's necessary. 
If you have enough spices to fill a drawer like this they'll hold each other in place.

 
Next up to be addressed: the coffee/tea cupboard.

Also really difficult to get stuff out of without a landslide occurring.

 
We had a lot of different boxes of tea going on, so I took our different teas...


And a cute candy jar...

(Ok, this whole project was an excuse to buy a cute candy jar - I've wanted one for years.)

And it looks really cute by the cookie jar!


The cupboard looks a little better now too. Yay!

As a reward for organizing all my stuff, I got some fun healthy snacks at Sprouts this evening!

Basically whatever was on sale from the bulk bins. And didn't have added sugar.

All the little bitty containers I could find...

And now I have a nice stock of trail mix, dried apricots, dried apples, and almonds.

New healthy snack station in my pantry - nice and fast to grab on the way to work.

What do you guys normally keep in your pantries that I'm missing?

(Or what do I have in there that's secretly terrible for you and I should get rid of? Besides the instant pudding, I'm aware of my horribleness on that front.)

Monday, April 2, 2012

Mini breakfast skillets.

This was a fun little breakfast we had last week.


I had some breakfast sausage left over from camping to use up, so I cooked it and layered it with wilted spinach on the bottom and eggs on the top. I used six-inch skillets for single-serving adorableness. Then I baked them.


Warning on baked eggs: they actually taste more like hard-boiled eggs than fried eggs. Which is fine with me (and might have been my own fault for letting them go too long) but I did find it surprising.

This was inspired by this recipe from Skinny Taste, but obviously my version was not skinny considering the entire reason I made it was to use up sausage.


Sunday, April 1, 2012

In which I plan ahead.


 Today I cleaned out my freezer! Here it is all pretty and organized:


I've been wanting to do some freezer cooking for a while, and this finally gave me a little room to try it out.

I decided on freezing some breakfast burritos.


Ingredients: burrito-sized tortillas, sausage, eggs, salsa, cheese, and black beans.


Cooking the sausage... 


Scrambling the eggs...


Letting it cool in the bowl for a bit.


I used the whole jar of salsa. I feel like since it's vegetables and therefore healthy, it would be good to use even more... but maybe something even thicker and chunkier or it would make the whole thing soggy.


A good pile of cheese.


I was thinking about leaving the black beans out but when I mixed it up I felt guilty about how unhealthy it was looking.


So I added them. And they taste good in there, so yay.


Couple of spoonfuls of filling.


Folding it over. I was worried about this step but since the tortillas are so big there was actually quite a bit more tortilla there than I needed. Yay!


This one even stayed shut on its own.

Wrapping it in a paper towel is important because that's what you'll microwave it in later.


And I wrapped mine in foil. (Please ignore the terrible lighting in my kitchen.)

Apparently it's good to put them in saran wrap and then foil but that seemed wasteful to me especially since I don't plan on them being in the freezer for months - we'll probably use them up in the next couple of weeks.


I could only fit nine in a gallon freezer bag so I ate the tenth one.

These are about 500 calories each, so while they certainly aren't the most balanced meal, they're not an unreasonably huge breakfast or lunch to bring along to work.

These cost a bit over a dollar each for me to make, so they're a cheaper option than anything but a $1 breakfast sandwich at McDonald's. (An establishment which sadly is banned in our household - although I rebelliously get a salad for lunch there on occasion.)